
The Mite
Part: 42
Wiring, Dash pad, wipers....
 |
Continuing on with the wiring. If I think about the whole thing at once, it is nearly overwhelming, but if I just concentrate on one wire at a time, the job doesn't seem so intimidating. |
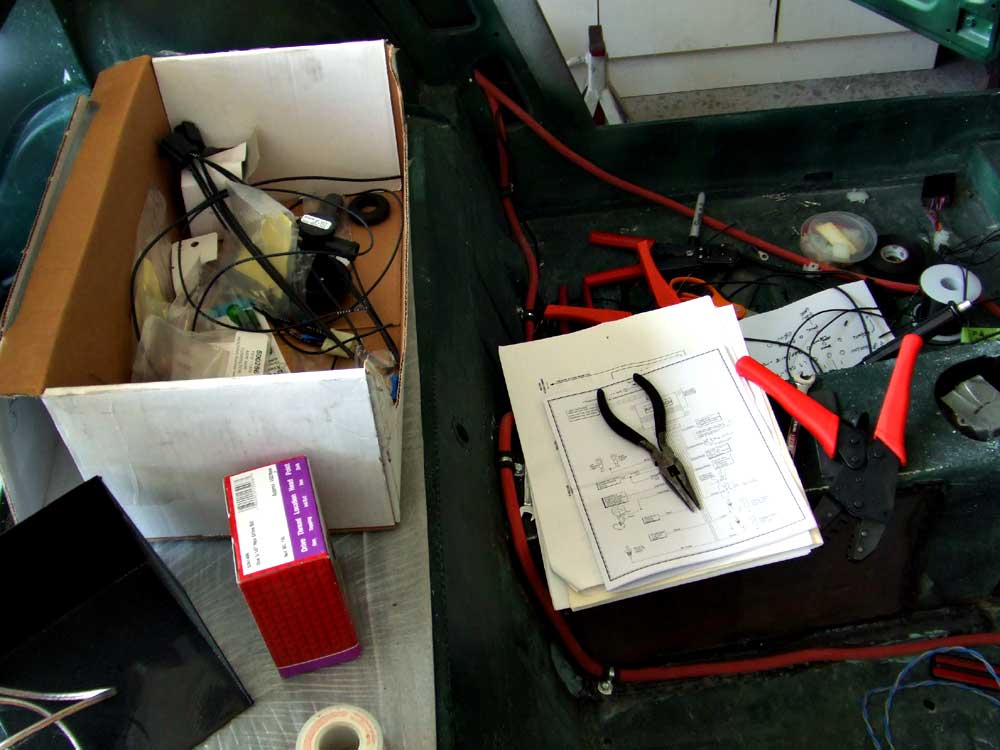 |
Here's some of the supplies I was armed with: connectors, crimpers, strippers, wiring diagrams, etc.... |
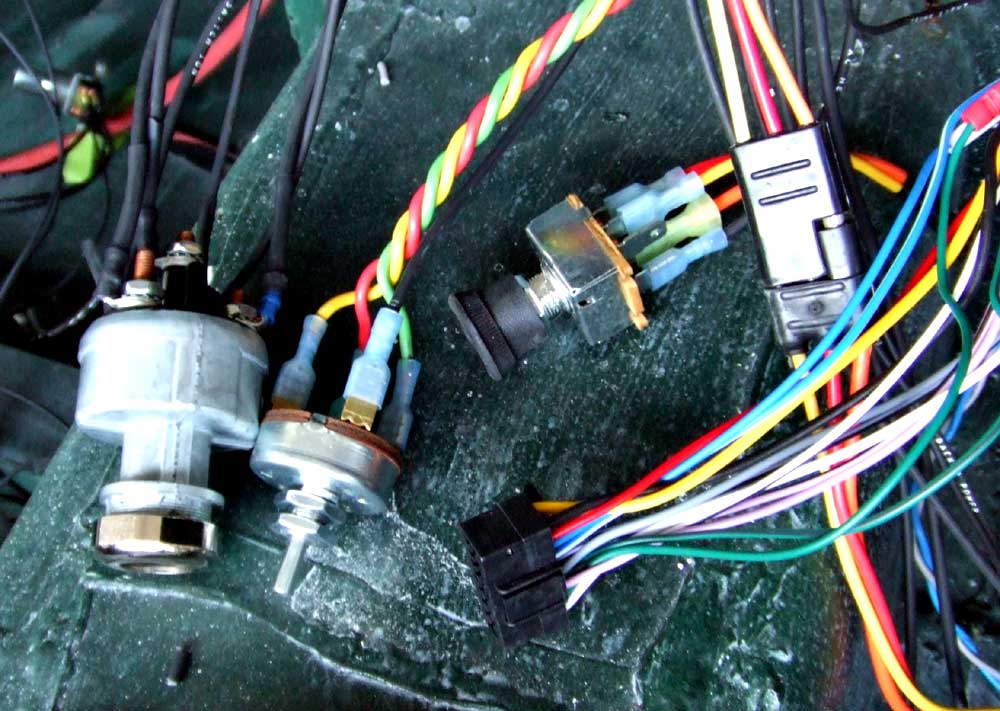 |
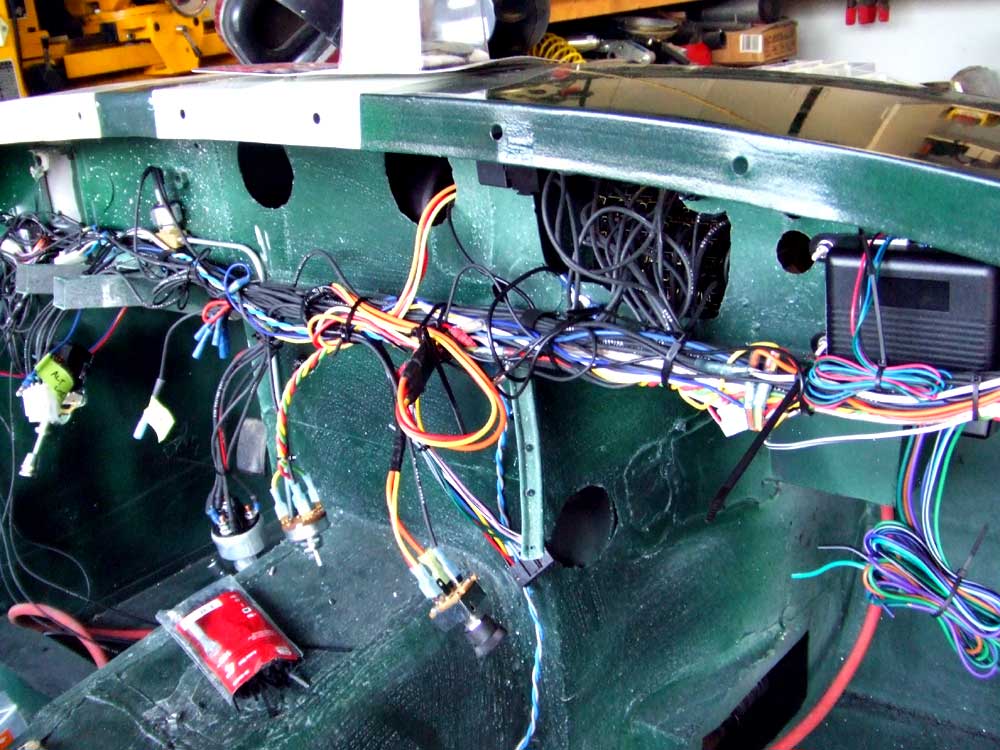
The main switches wired into the harness. from the left: ignition, wipers, heater,and stereo connector. |
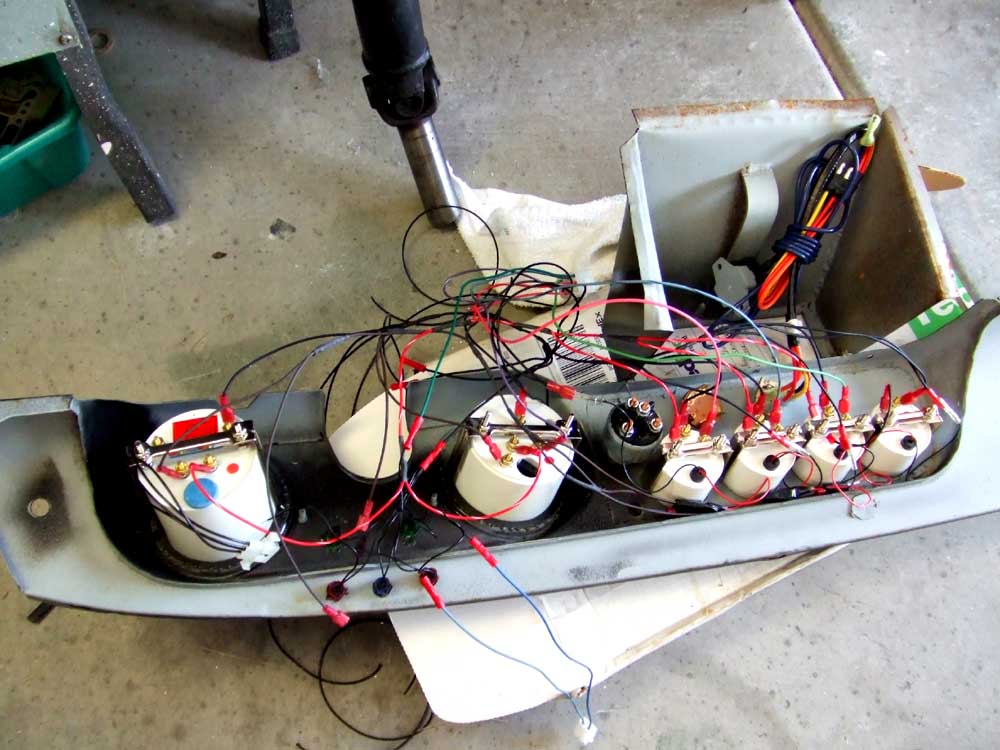 |
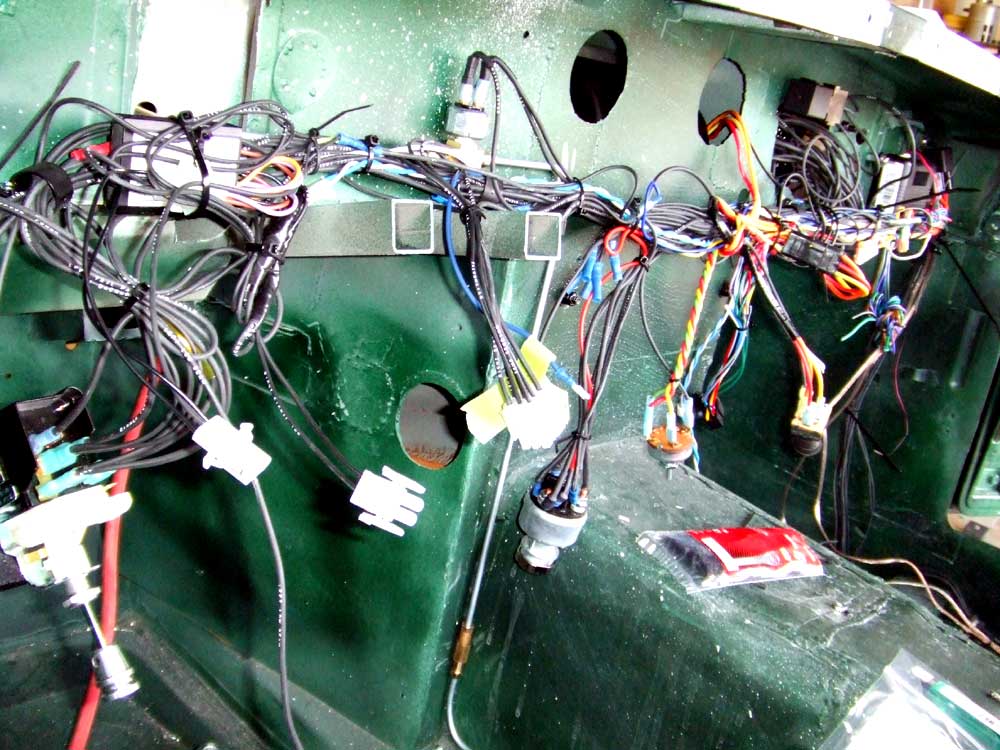
The back of the dashboard |
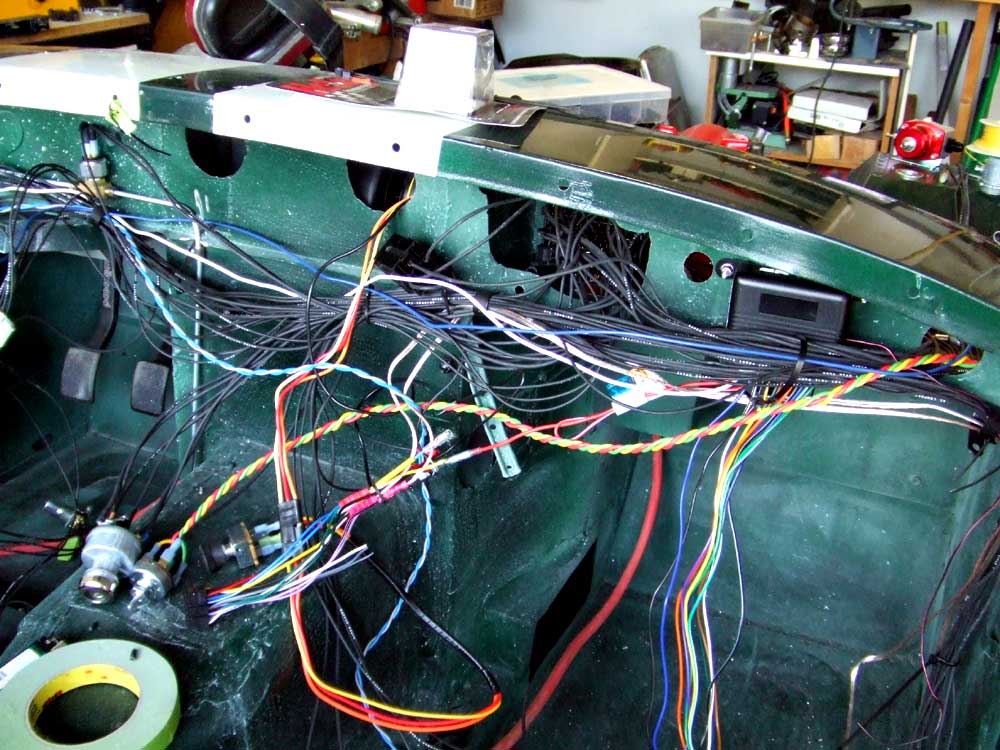 |
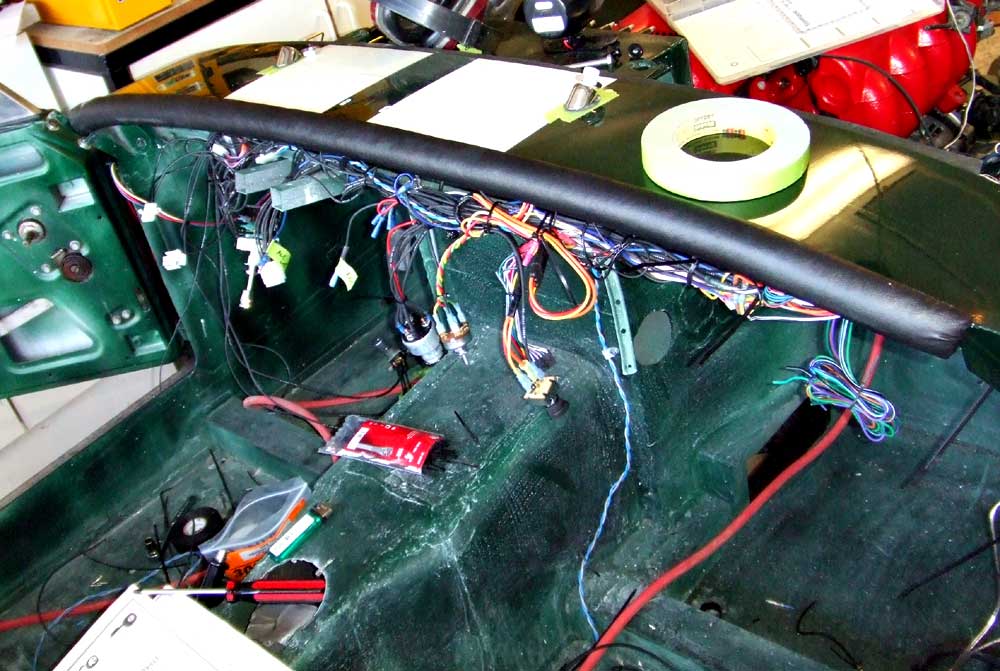
More wires in place and ready to be zip tied together and out of the way |
 |
What my camera saw while I was doing most of the wiring. Colleen and her friend Judy went on a 14 mile hike from Seven springs to Spur Cross. Along the way they found this. Probably not an ancient Native-American aritfact. |
 |
I've got most of the wiring done, it took about 12 hours, even with the EZ Wiring harness. The harness did make things much easier than making one from scratch, but the instructions were a bit vague. For example: There was no complete wiring diagram included, just hand draw sketches of what the manufacturer assumed we would want to see. They assumed that everyone would be using a GM style steering column, everyone would use GM style blinkers where the brake lite and blinker are the same bulb, and that everyone would mount the fuse panel under the dash on the driver's side. I had to figure out a bunch of things on my own; like how the horn was wired (ground side or pos side switched?), etc... |
 |
But, all -in -all, the harness helped speed things up. I added quick-connects to all the wiring going to the dashboard so that I could remove the whole unit for service. I also invested in a good, ratcheting crimper for weather pak type connectors to make the corrrect and strong crimps on these connectors. |
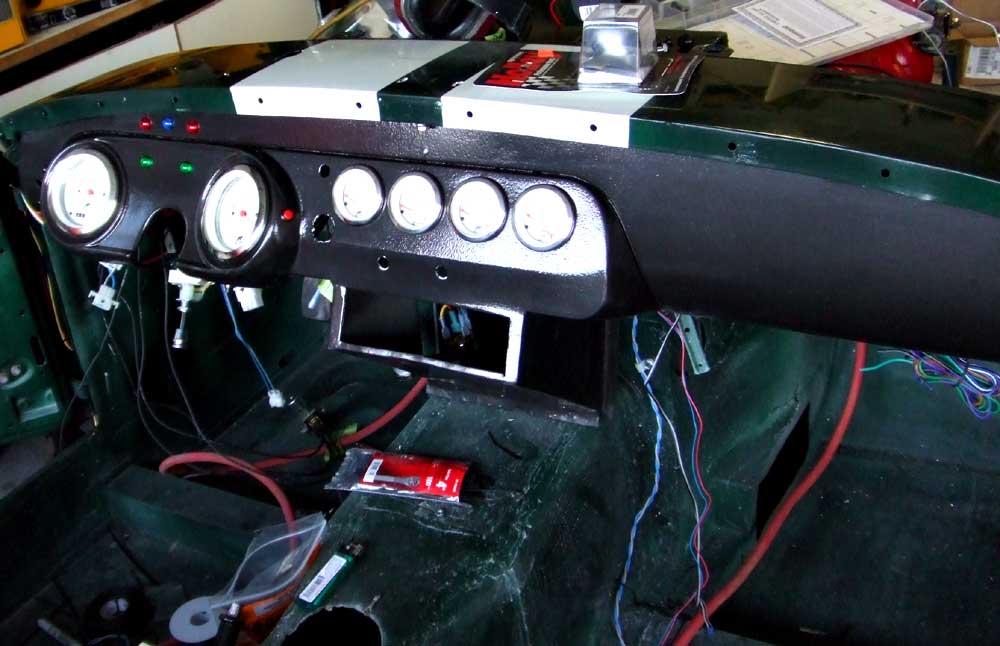 |
Here's the dash set in the car, but as I was ready to install it, I realized that I had to finish the vinyl dash pad and wipers first! |
 |
The Sprite has a vinyl- and foam-covered pad that runs the length of the dash. The vinyl on mine was ratty, so I carefully peeled off the vinyl and left the half-round foam attached to the metal strip. Then, I went to Jo-Ann (Colleen calls it the women's Home Depot) and picked up 2 yards of vinyl for $14, and traced the shape of the dash pad on the back. |
 |
Then, I spread out the old vinyl and enlarged my tracing to allow the vinyl to be wrapped around the back of the pad |
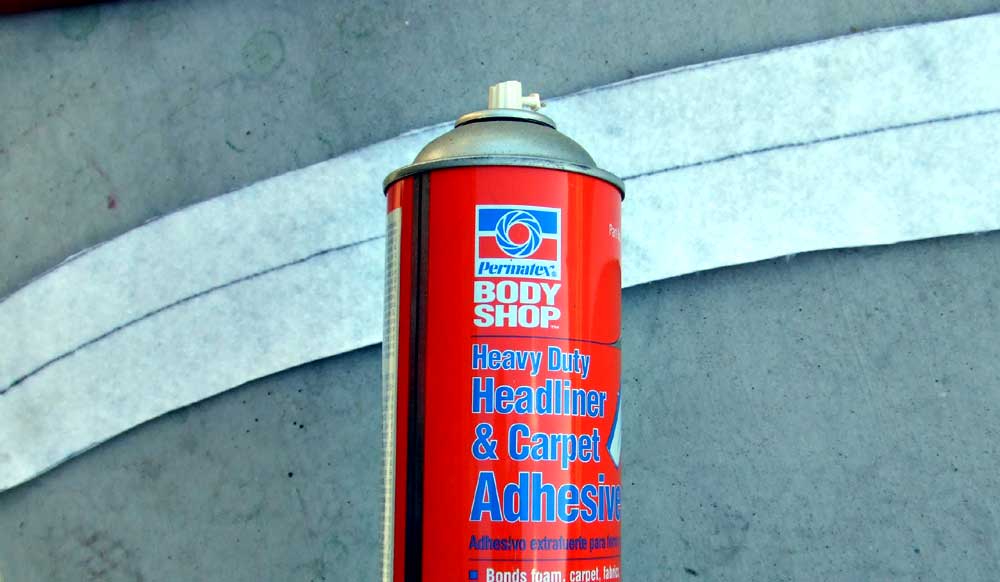 |
I sprayed the cut vinyl and the dash pad with this adhesive and allowed it to set-up for a few minutes |
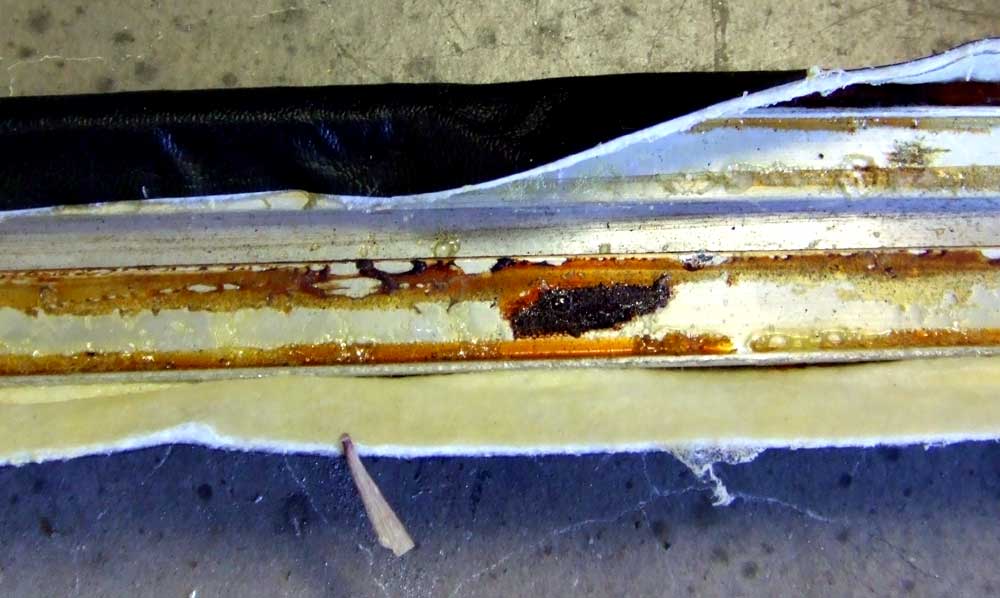 |
Then I stretched the vinyl around the foam and stuck it to the back of the dash |
 |
Insert the 10 nuts and bolts, tighten down, and the dash pad is done. |
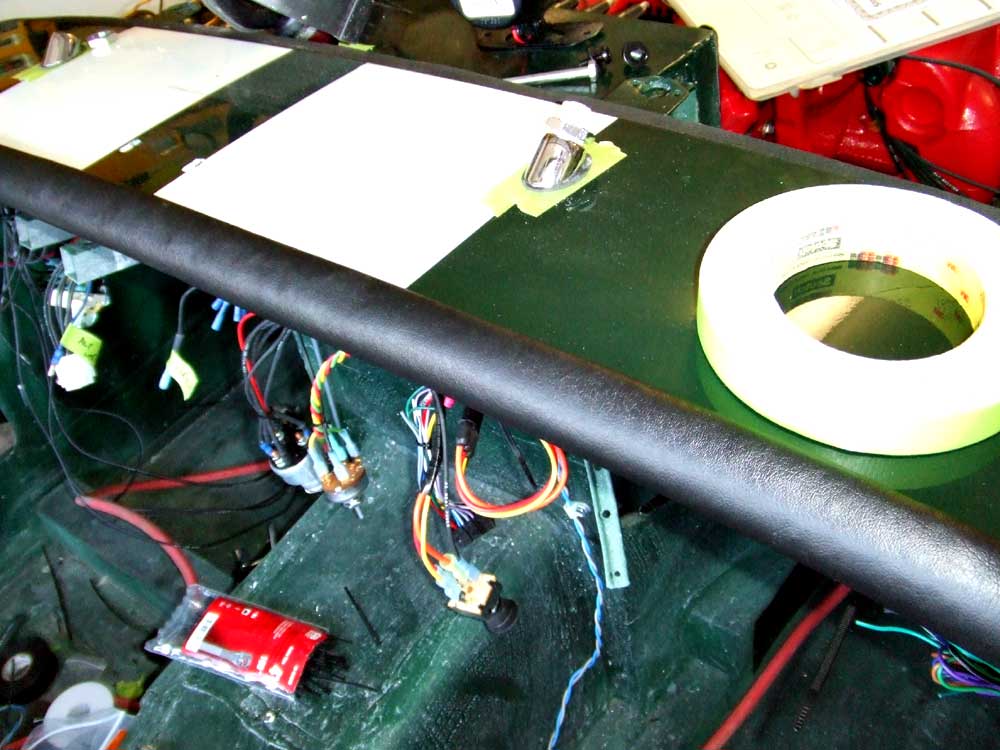 |
A closer view. Note the tape under the wiper bezels to protect the paint as i begin to work on the wipers |
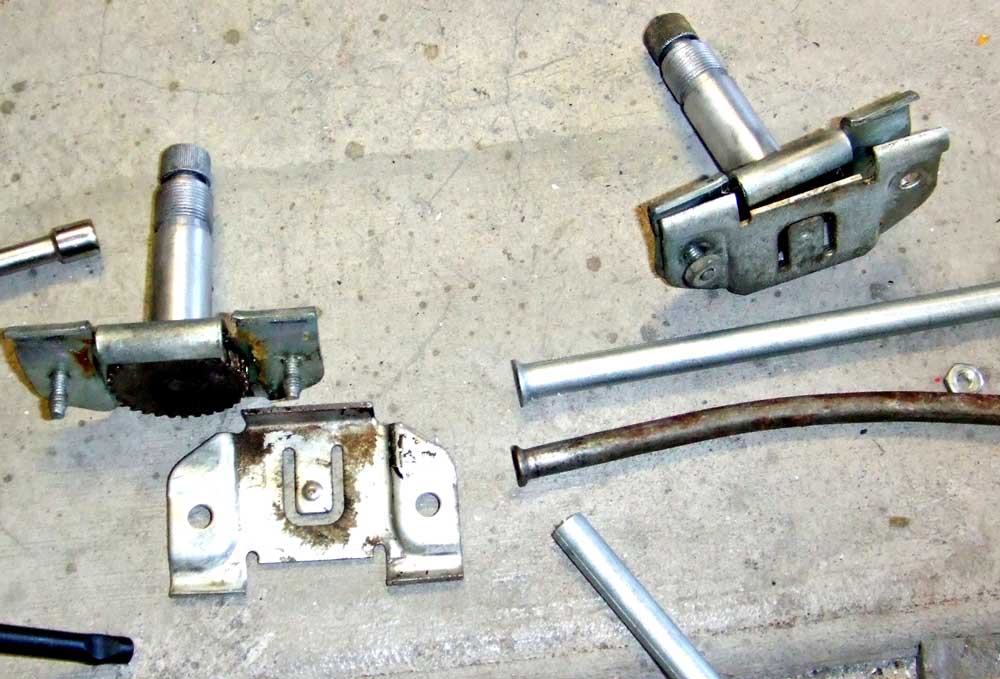 |
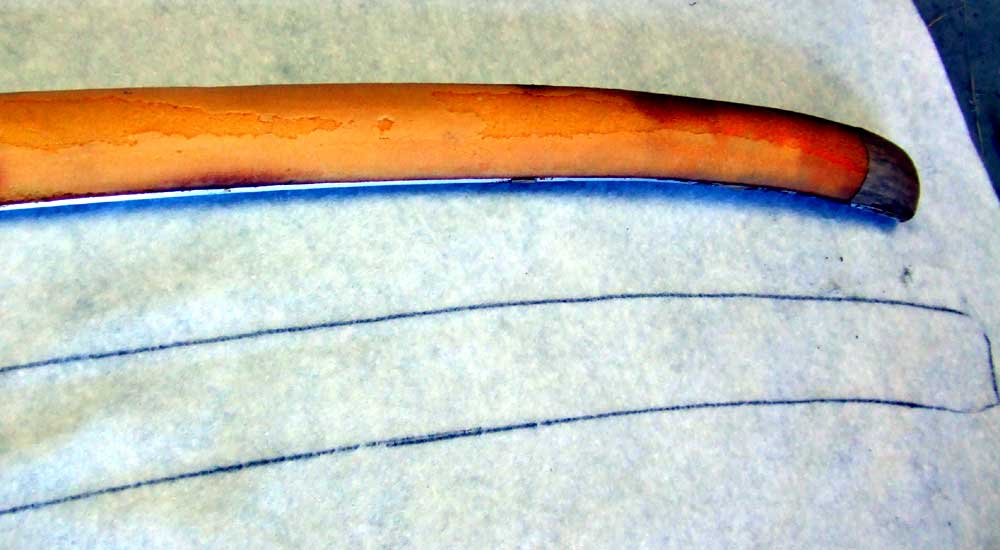
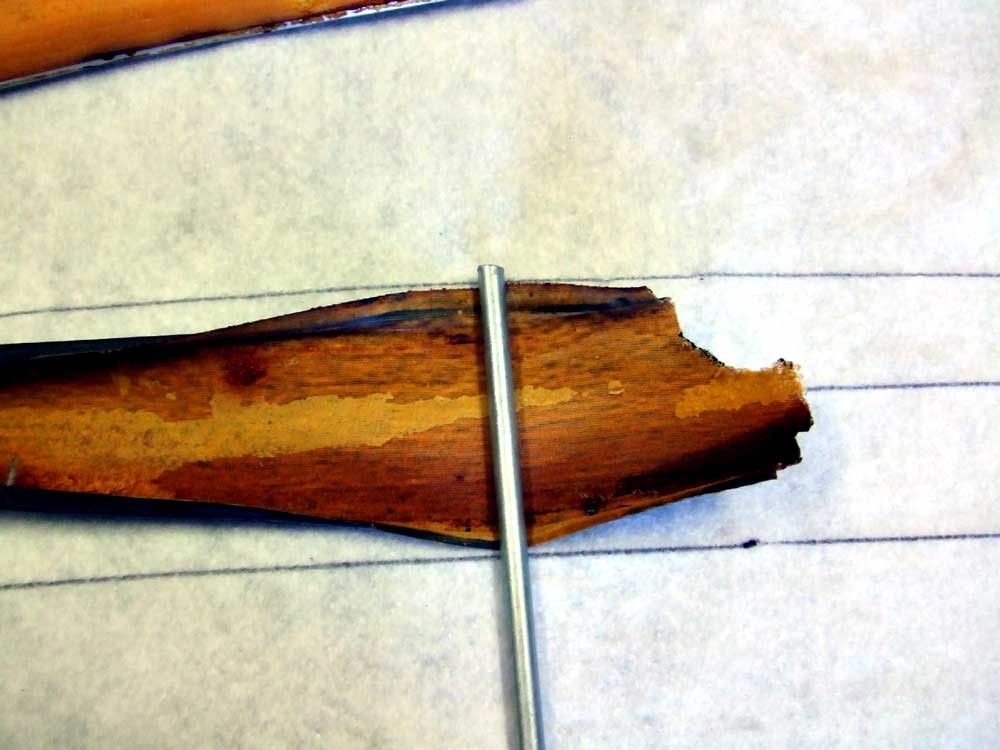
Here's the wiper spindles; disassembled, cleaned and ready for a new tube. The old tubes that hold the cable that moves the wipers was bent and kinked, so I got some new steel tube of similar size, cut it to length and flared the ends so it would fit into the spindles. |
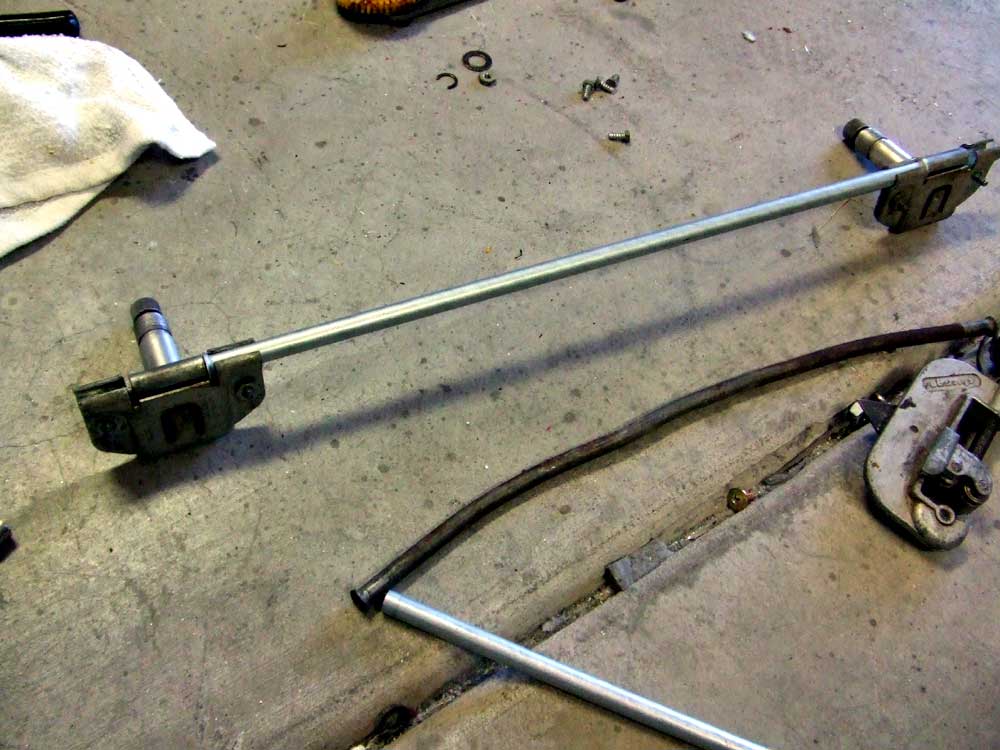 |
Here's the two wiper spindles with the new length of tube connecting them. |
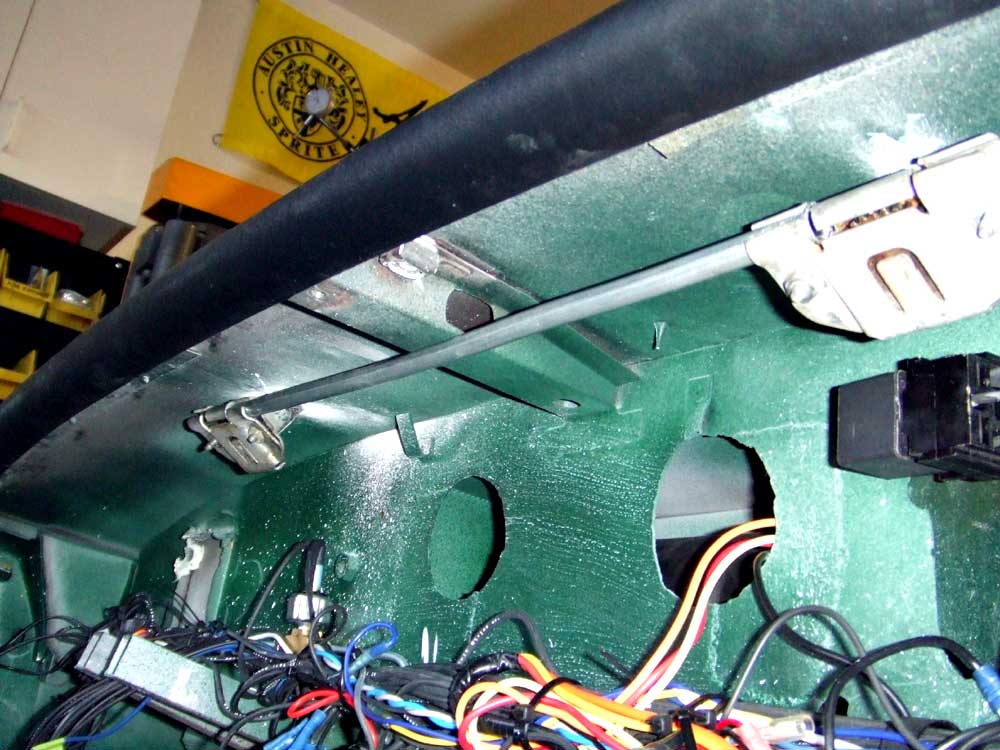 |
And the wiper spindles/tube installed in the car under the dash. I've just cleaned and painted the wiper motor, so when it is dry, I'll mount it in the engine compartment on the passenger side, and make a new tube from the motor to the first spindle. |