
The Mite
Part: 37
Setting Pinion Angle, welding brackets, checking engine clearance
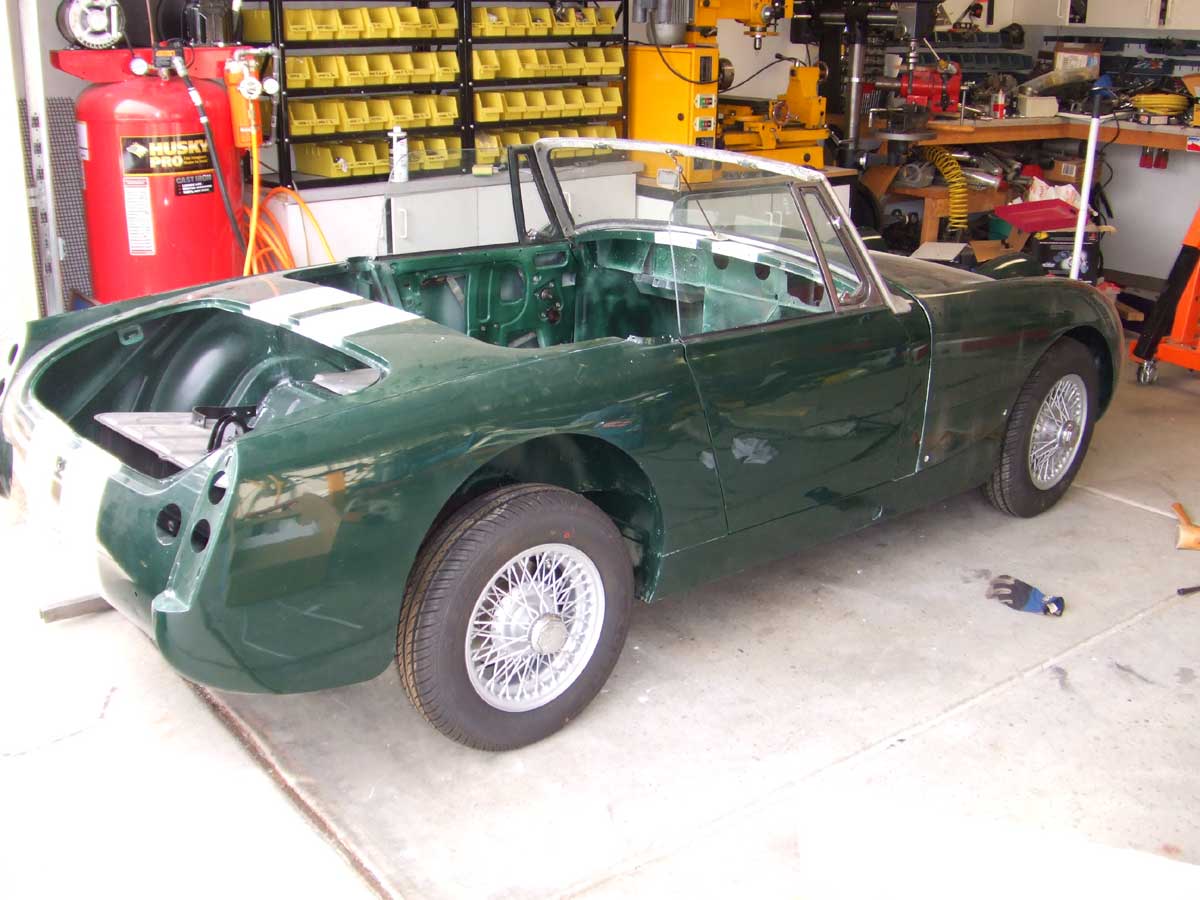 |
Here's the car on the wheels, with the hood (bonnet) in place |
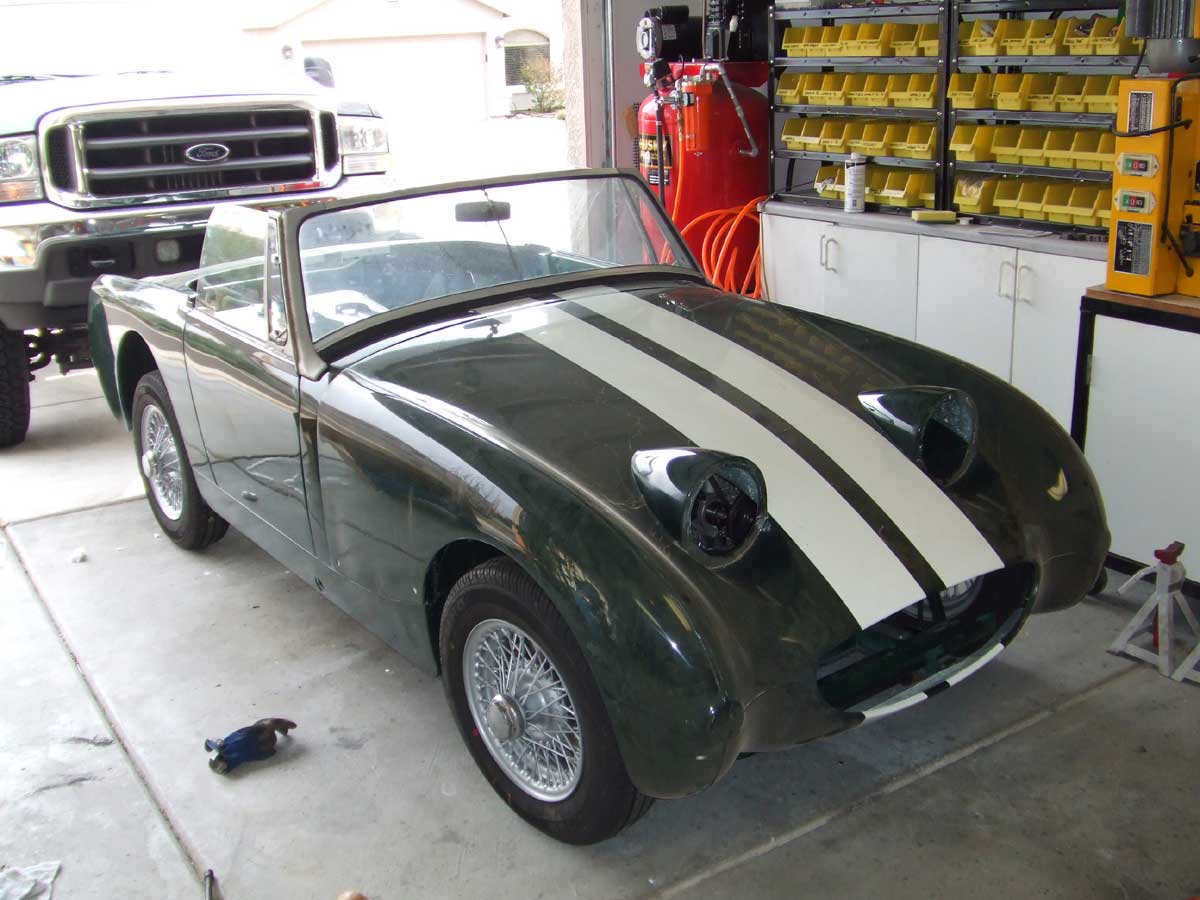 |
Front view of the car. The windshield is an old one, Placed onthe car temporarily |
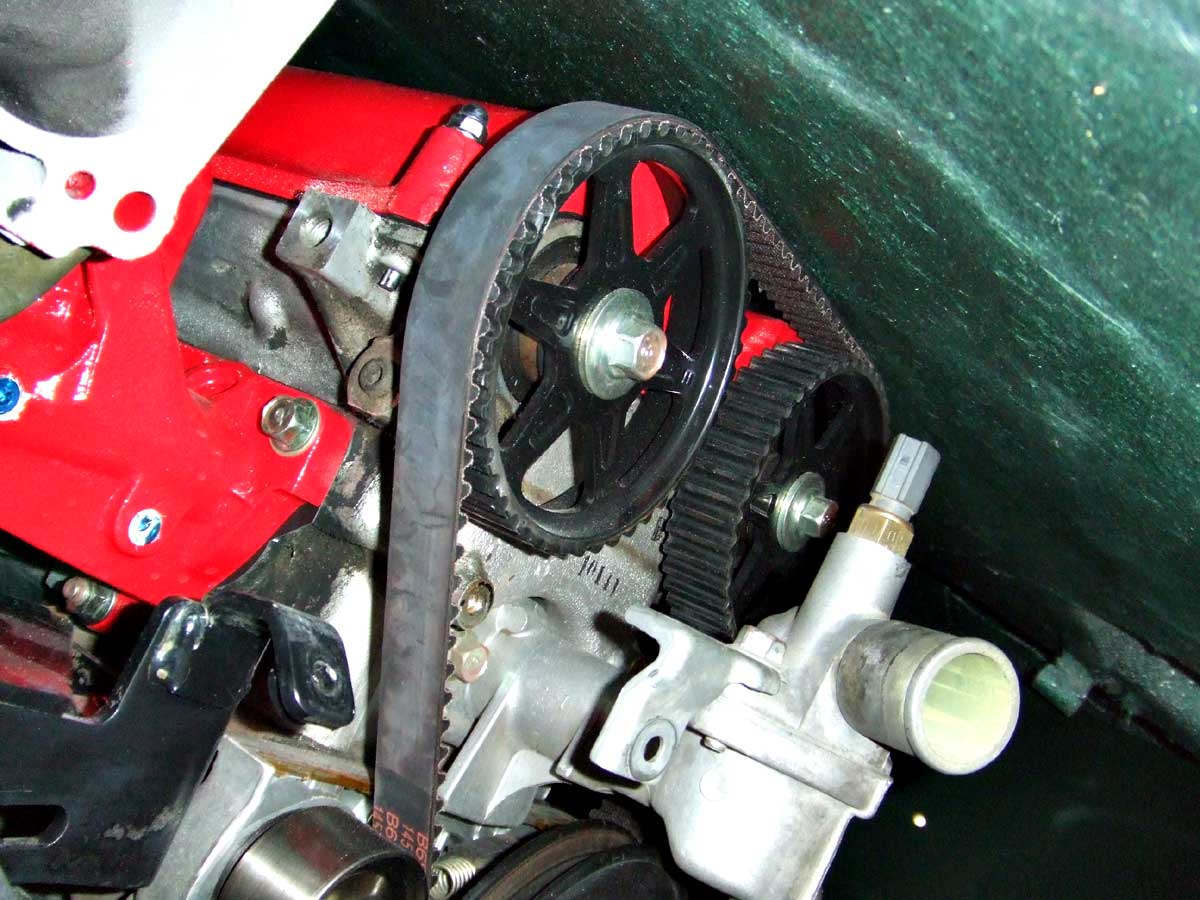 |
Here's the engine-to-hood clearance. I've got just about an Inch between the timing belt and the inside of the fiberglass hood. Tight. |
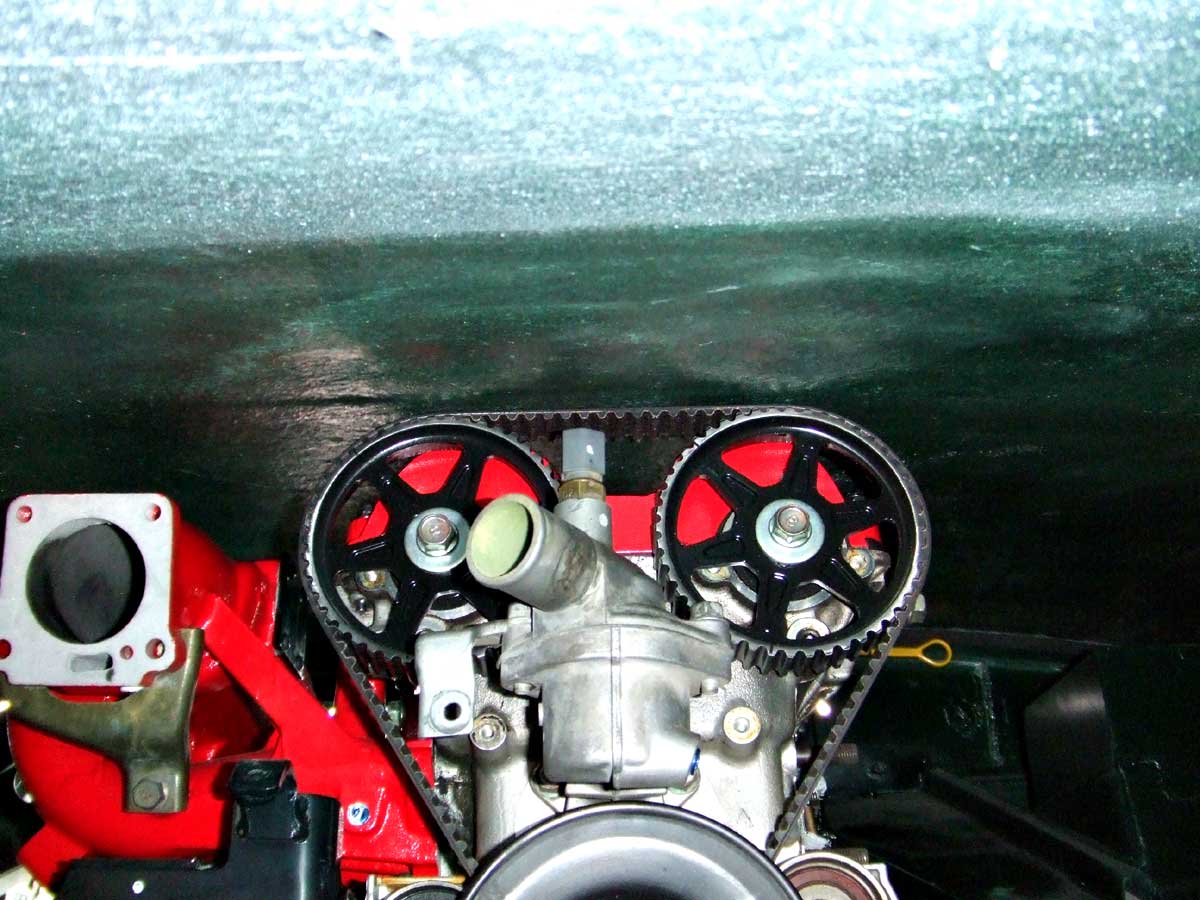 |
Another view of the hood clearance. |
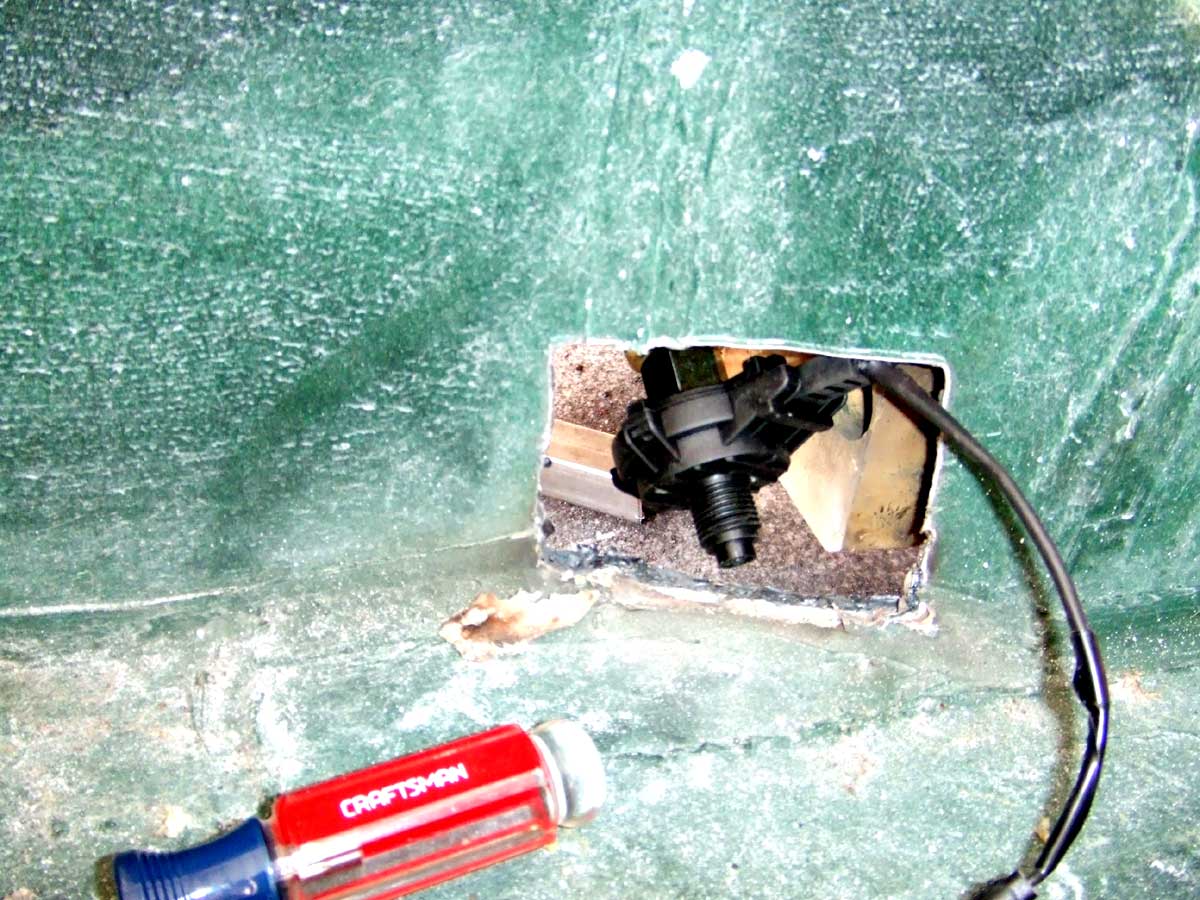 |
I had to pop a small hole in the transmission tunnel to let the end of the speedometer speed sensor stick through. It also helped with the intstallation of the speed sensor. I'll make a small plate and rivit into place once the wiring is done. |
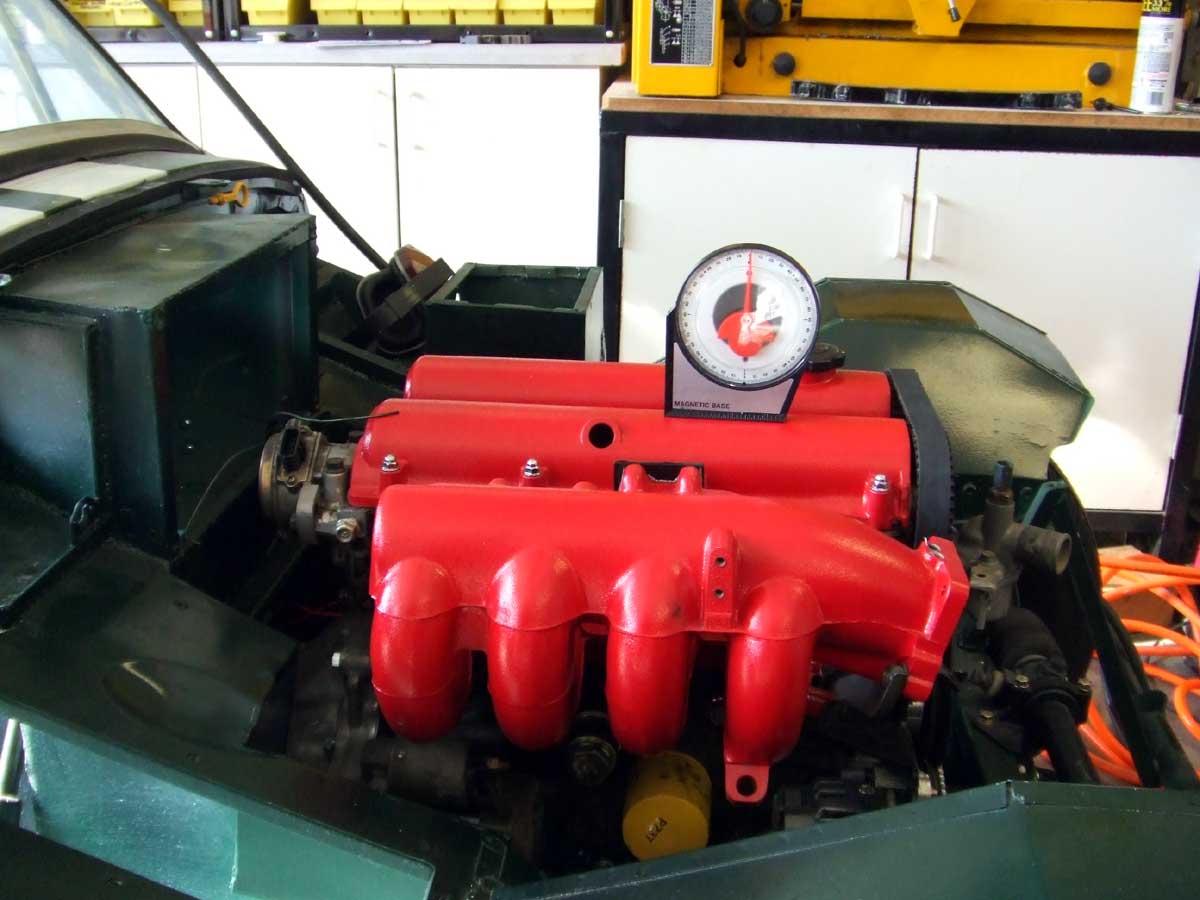 |
Now, on to setting the pinion
angle..There's some different ideas about rear axle pinion angle vs. engine
angle depending on the appoication. Drag racers want the pinion angle
to be a few degrees downward to counteract the force of rotation on acceleration,
while off-roaders just want to maximize travel. This is the angle of the
engine in the garage. I used an Angle Finder |
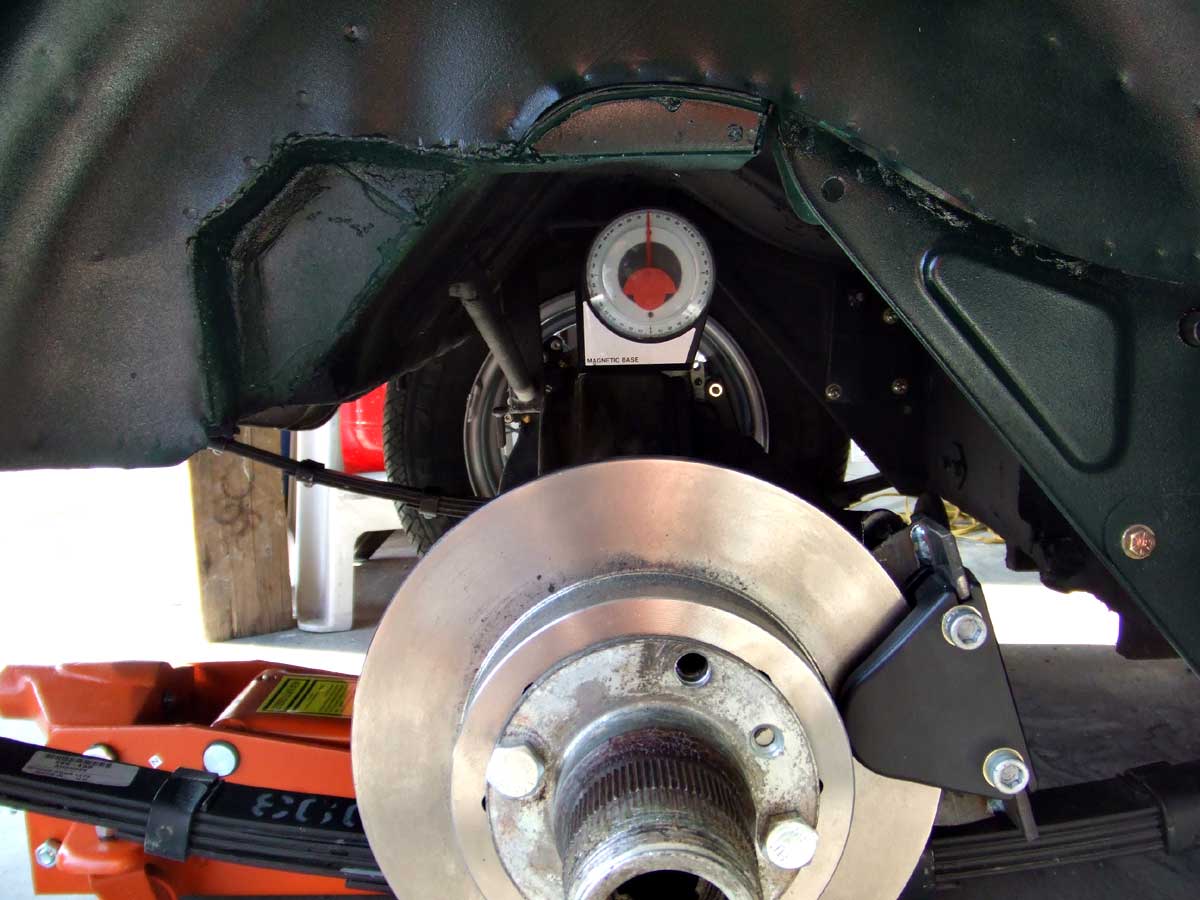 |
Here's the angle of the rear end in the car. I set the angle with the wheels on the car and the car weight on the suspension, but removed one wheel for this picture. I set the angles according to this: Pinion Angle The engine angle was determined by my mounting locations, so I had to adjust the pinion angle to match |
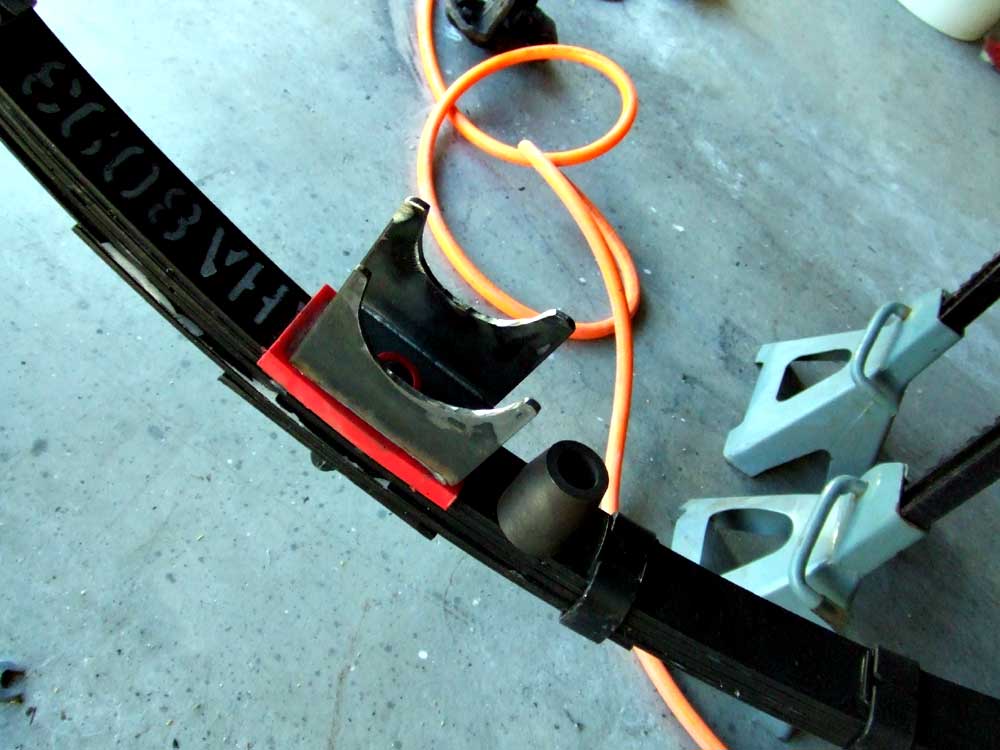 |
These were the axle perches I made a while ago, and they will be welded onto the rear axle to provide the proper angle. |
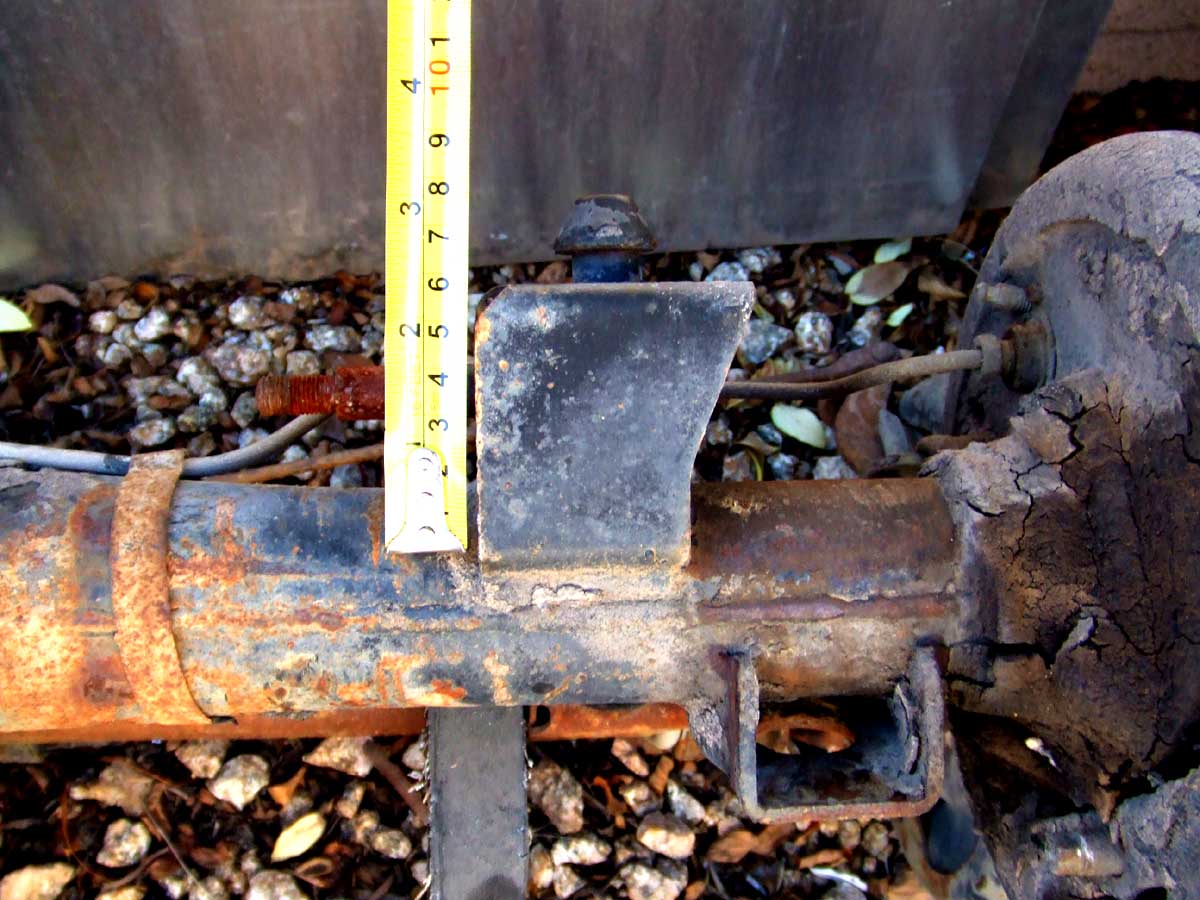 |
Now that the rear angle is determined, I need to make a mount for the bump-stop and the limit strap, as well as a new panhard rod mount on the rear axle. This is the stock bump-stop mount and the limit strap attaches to the rusty stud sticking out the left of the tape-measure. |
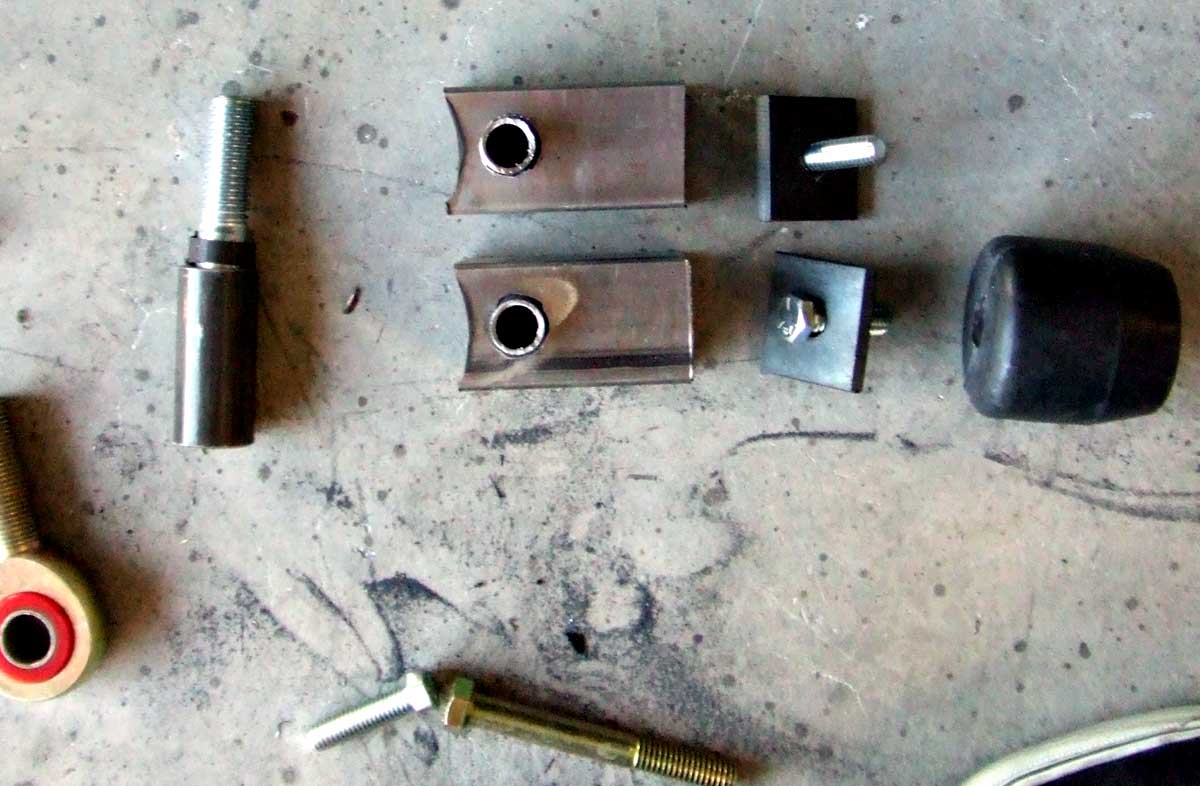 |
Here's the parts for the bump-stop mount with holes for the limit strap mounting bolts. I welded everything and took it down to get powdercoated before taking a picture. I'll post one in a couple of weeks when I get the axle housing back. |